Building your first house in Minecraft is an exciting moment. It gives you a safe place to sleep, store your items and plan your adventures. A starter house does not need to look perfect or use rare blocks. It only needs to keep you safe and give you enough room to grow. This guide shows you how to build a strong and clean starter home in both Java and Bedrock Edition.
Choosing the Best Location
Picking the right spot makes building easier. A flat area is the safest choice because it gives you room to place blocks without fighting the terrain. Plains, forests and small hills all work well. If you find a spot near trees, water and animals, you will have all the resources you need close by.
Try to stay away from deep caves or cliffs until your house is finished. These areas sometimes spawn mobs even during the day.
Gathering the Materials You Need
You do not need fancy blocks for a starter home. Wood, stone and dirt all work fine. Wood is the easiest to collect, and stone tools help you gather materials faster. Make sure you have enough logs before you begin, because running out of wood during building slows things down.
If you can, gather a small amount of coal or charcoal. This lets you place torches inside your home to keep monsters from spawning.
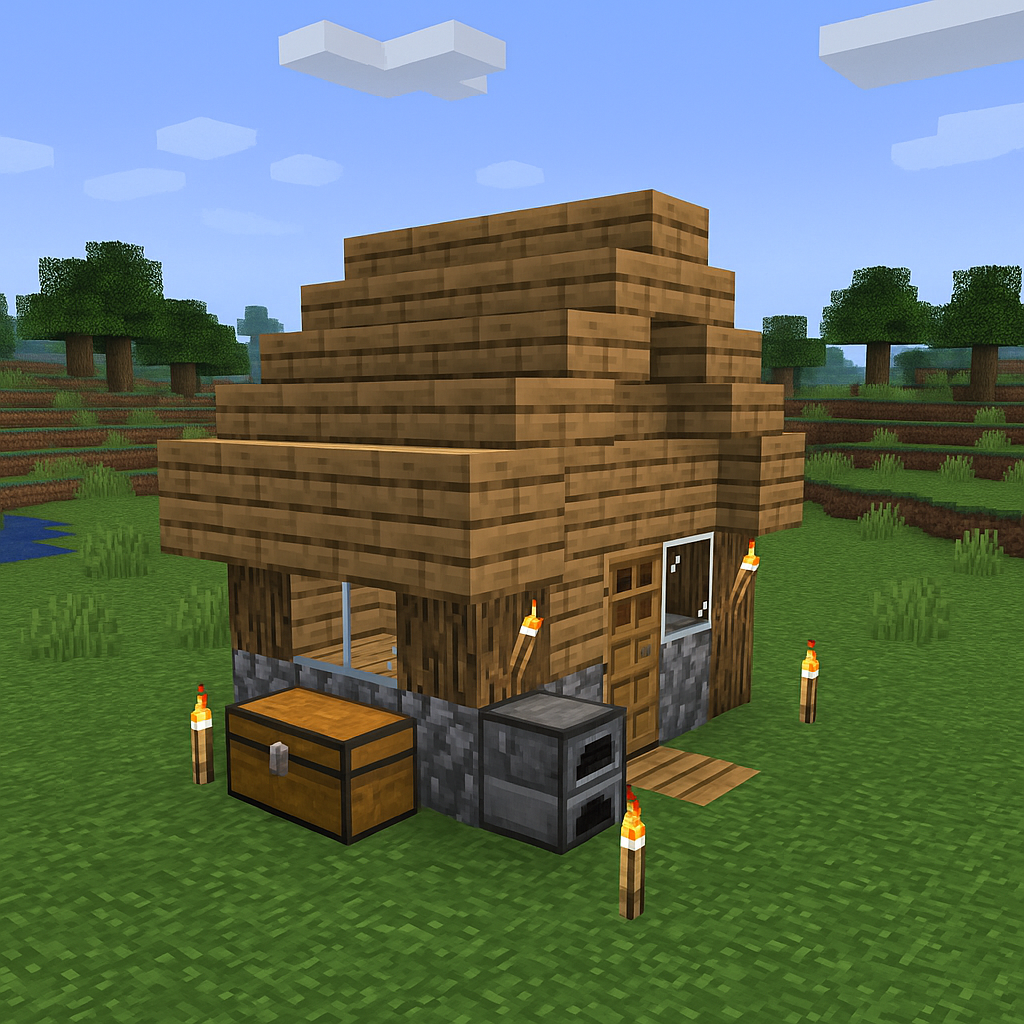
Laying Out the Shape of the House
A good starter house has a simple shape. A small rectangle or square is enough for sleeping and storing items. You can make the floor from dirt at first and replace it later with wood or stone. The goal is to build a safe room you can upgrade anytime you want.
Keep the walls at least three blocks tall so your house feels a little larger and easier to move around in.
Adding a Roof and Lighting
A roof keeps out rain, spiders and everything else that can bother you. A flat roof is fine for your first home. If you want, you can make the roof from stairs to give it a small slope. No matter which style you choose, make sure there are no gaps where mobs can enter.
Place torches inside and outside your house. Torches protect you by keeping the area bright and stopping monsters from spawning nearby.
Putting in the Basic Furniture
Every starter house needs a few items. A bed lets you sleep through the night. A chest keeps your items safe. A crafting table and furnace help you make tools and cook food. These four items turn a simple box into a real home that supports your adventures.
You can add more chests later when you start mining and gathering bigger stacks of materials.
Making Small Improvements
Once your house is safe, you can make it look better. You can add windows, replace the floor, or build a small porch. Even tiny upgrades make your home feel more personal. You can also place fences around your yard or build a simple path from your home to your mine.
When you improve your house little by little, it becomes a useful base you will enjoy returning to each time you explore.
Keeping Your Area Safe
Your home is safest when the area around it is lit. Try placing a few torches around your yard so zombies, skeletons and creepers stay away at night. If you have extra wood, you can build a small fence around your property. A fence helps you control where mobs can walk.
Both Java and Bedrock players benefit from keeping the area bright and clear.
What To Do After Your Starter House Is Finished
Once you have a safe home, you can explore deeper caves, hunt for iron, or begin building a farm. Your starter house becomes the center of your world. You can return to it to store items, craft new gear and plan bigger projects.
As you learn the game, you can add new rooms, build a second floor or even create a whole base around your starter home. Every great Minecraft build begins with a simple shelter.